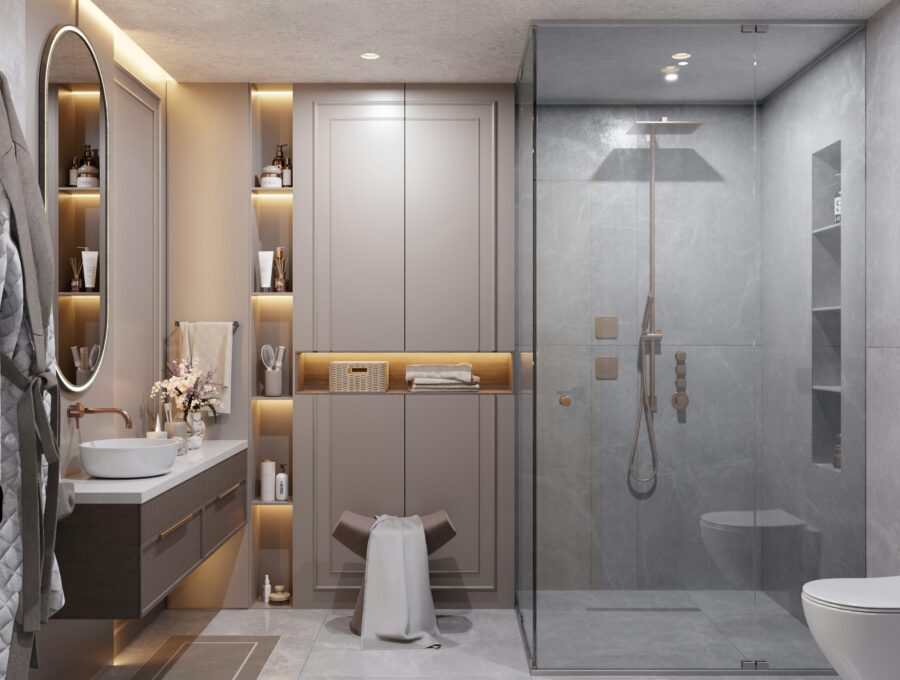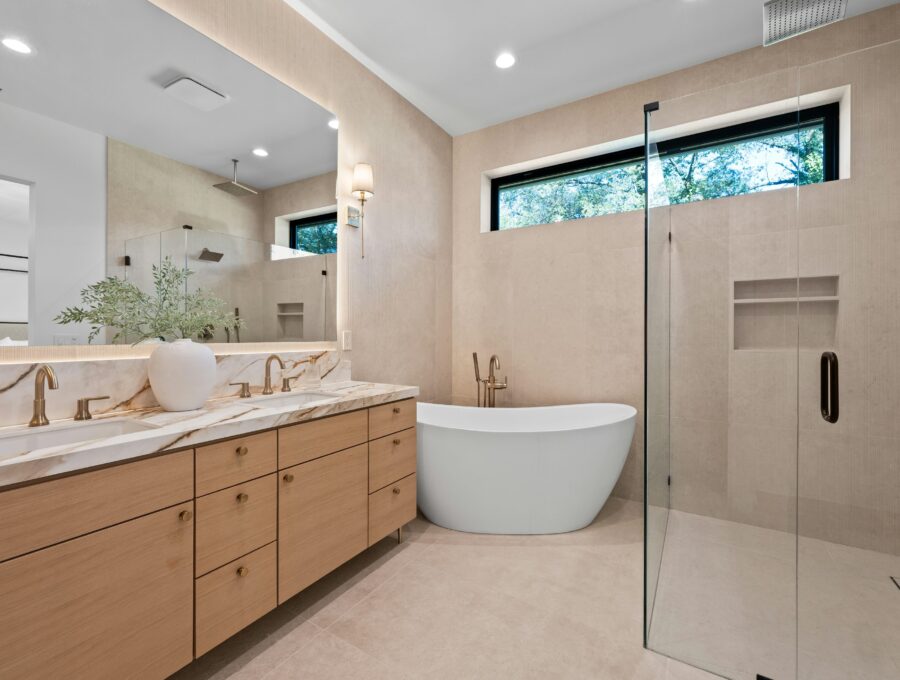
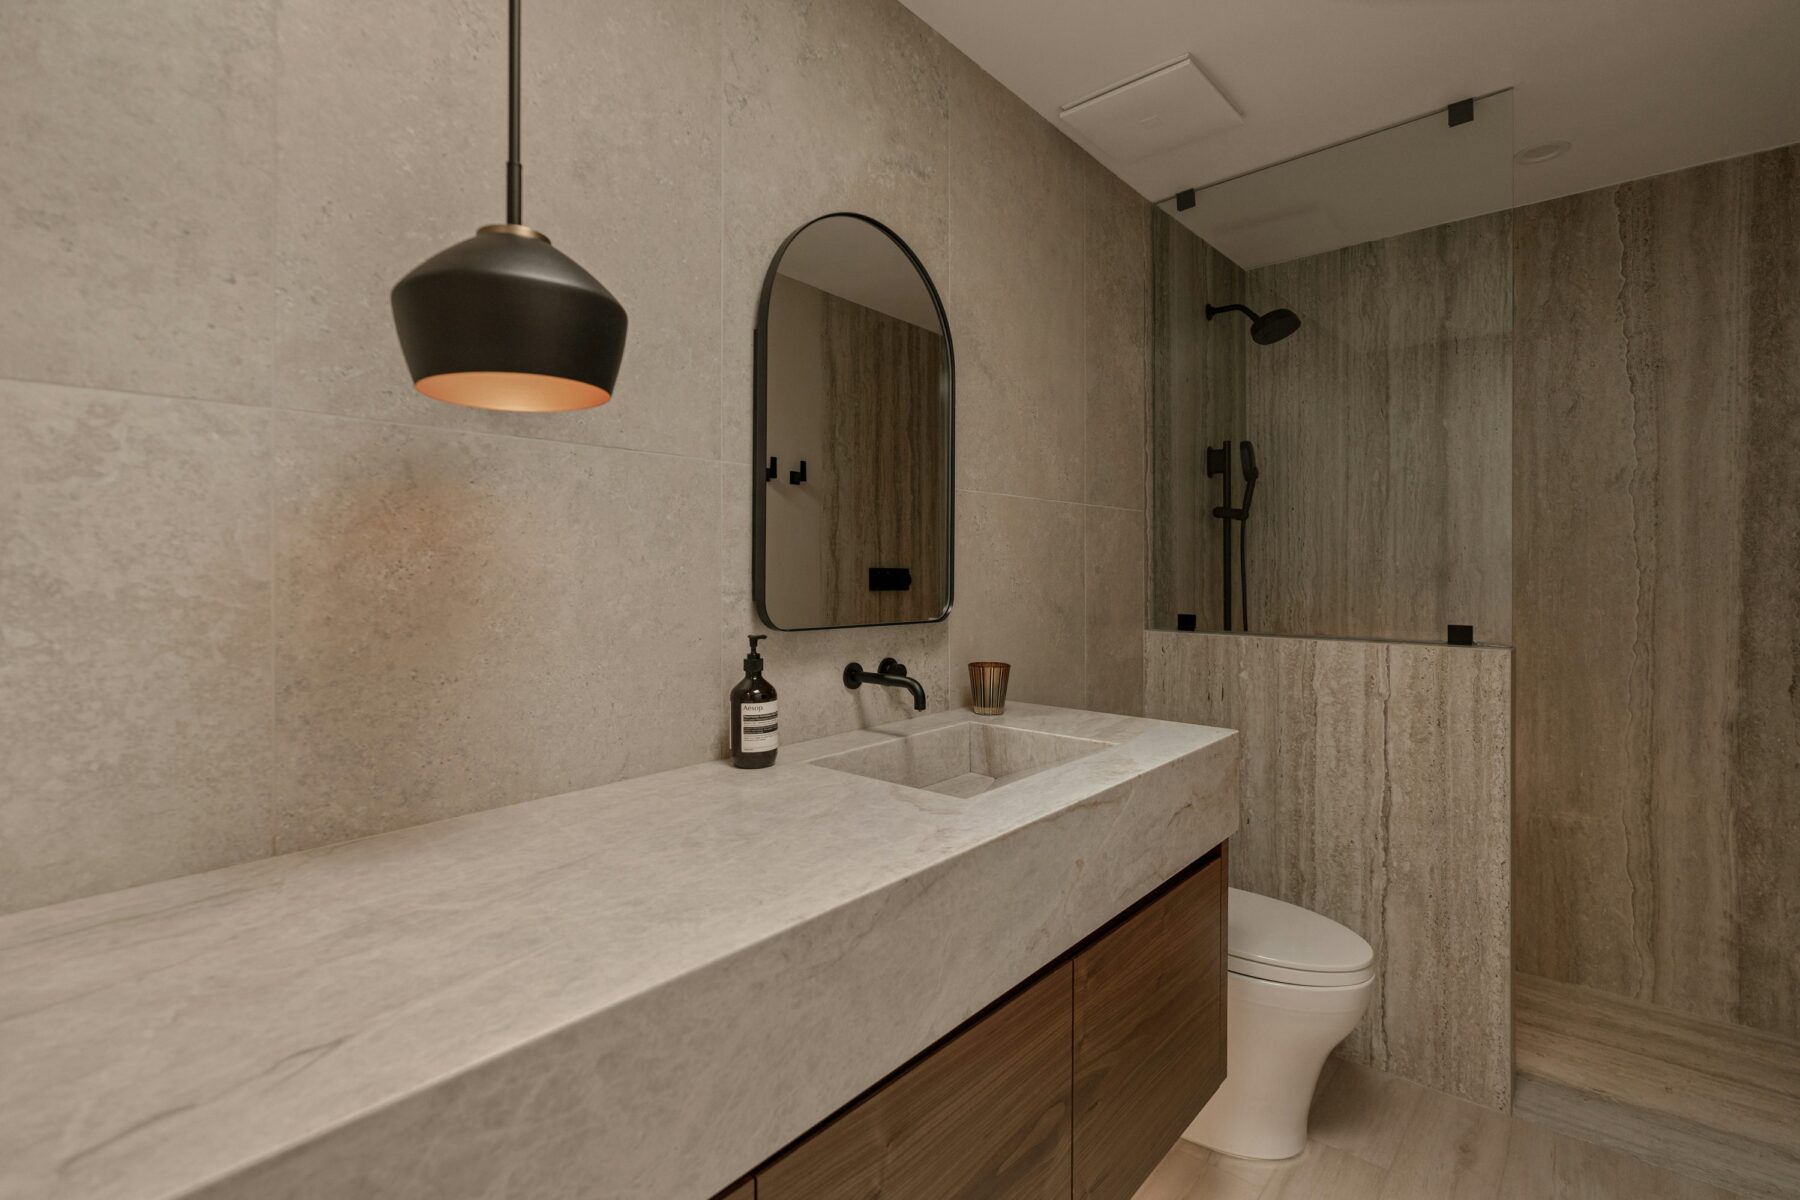
Large-format porcelain can make a bathroom feel calm because individual grout joints become less prominent. The trade-off is that large pieces reveal irregular walls and floors quickly, so preparation and layout become especially important.
Core Planning Considerations
Flatness matters more as tile gets larger
A large rigid tile cannot follow waves in a wall or floor without creating lippage or hollow areas. Substrates may need additional preparation before installation starts.
This is one reason a premium tile should not be evaluated only by its material price. The condition of the surface receiving it matters.
Plan cuts around the architecture
Door openings, niches, windows, vanity backsplashes and shower benches interrupt the tile field. A layout should decide where full pieces and cuts land so those interruptions feel intentional.
A tiny sliver beside a niche or an off-centre grout joint behind a fixture can be more noticeable with large tile because the rest of the surface is so clean.
Shower floors are a different problem
The shower floor must slope toward the drain. Small mosaics naturally conform to multiple slope planes. Large tile may require envelope cuts or a drain configuration that allows a single-direction slope.
Choose the drain and floor tile together instead of assuming the wall tile can simply continue onto the floor.
- Wall flatness
- Floor flatness
- Tile dimensions
- Pattern and direction
- Niche alignment
- Drain geometry
- Edge treatment
- Movement and grout joints
Fewer joints does not mean zero maintenance
Large tile reduces grout length, which many homeowners appreciate, but the bathroom still needs suitable grout, sealant joints and routine cleaning. Natural-stone-look porcelain can provide a quieter maintenance profile than real stone when that is a priority.
Additional Planning Details
Build a tile elevation before installation starts
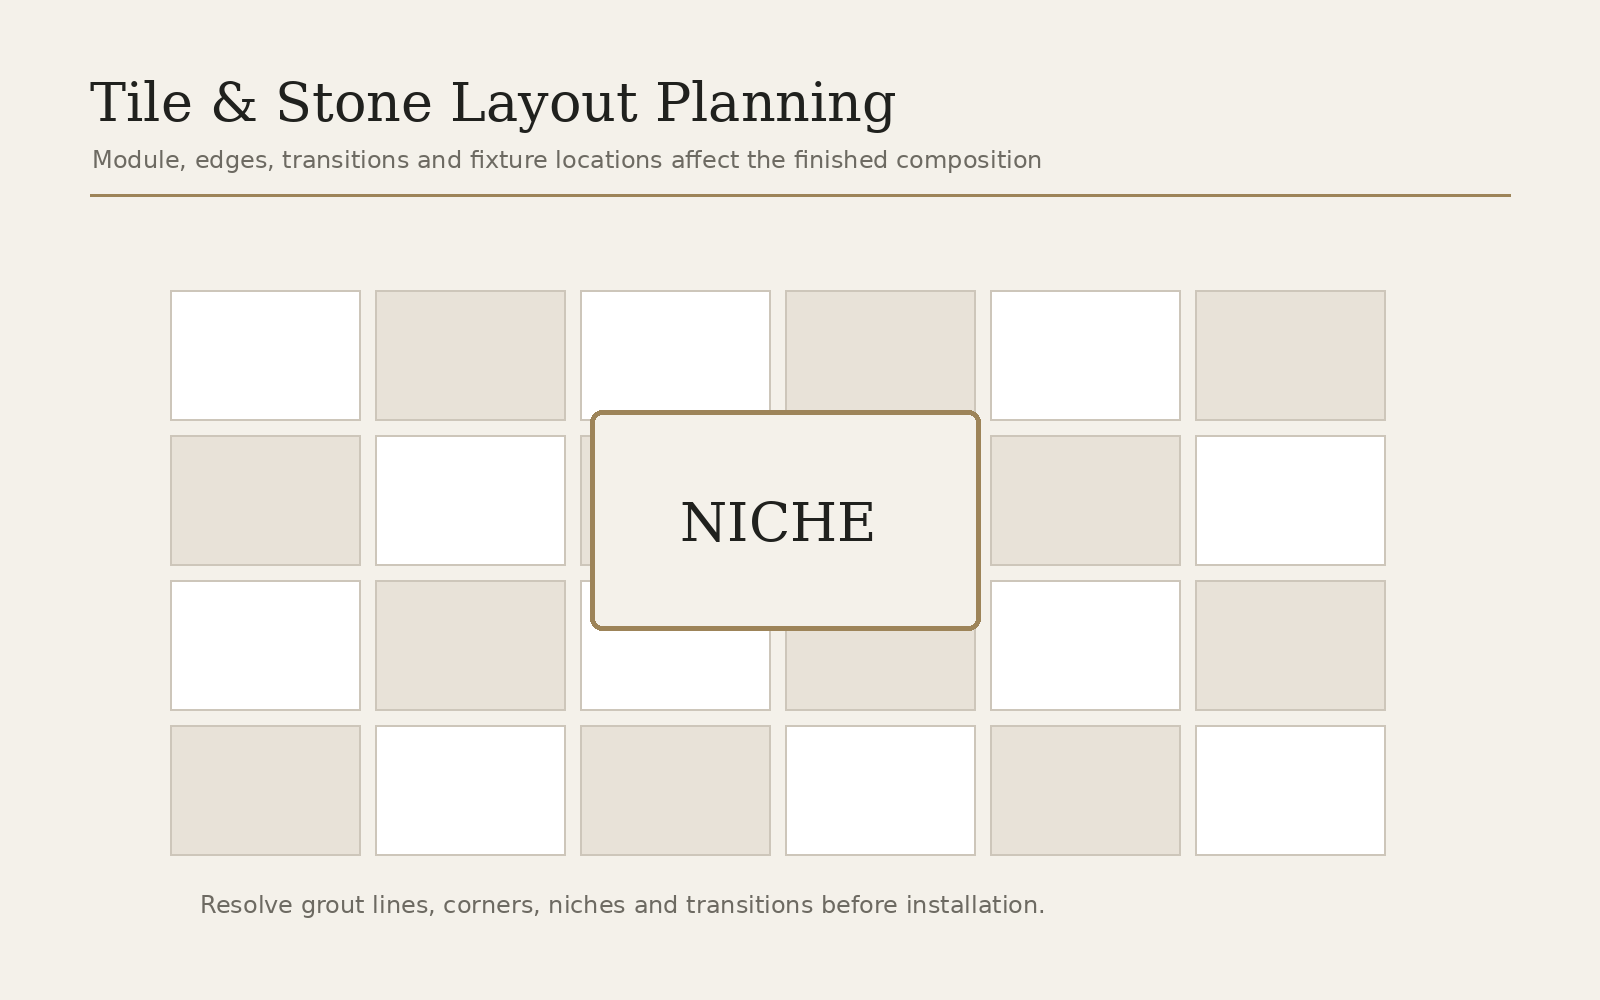
For important walls, draw the tile module over the actual dimensions. Mark the niche, bench, valve, shower head, window and vanity. This simple exercise exposes awkward slivers and misaligned grout joints before mortar is mixed. It can also reveal whether changing a niche dimension by a small amount produces a much cleaner result.
Large-format surfaces benefit especially from this step because each joint carries more visual weight. A considered layout often uses fewer decorative tricks and relies instead on strong proportion and clean transitions.
Order with variation, cuts and future repairs in mind
Tile quantities should account for room geometry, pattern, cuts, breakage and material variation. Natural stone and strongly veined porcelain may require extra selection to distribute pattern attractively. Keeping a small amount of labelled spare material after the renovation can also be useful if a tile is damaged years later.
Before ordering, confirm that trims, profiles, mosaics or matching pieces needed for edges and shower floors are actually available. A beautiful main tile is not a complete specification if the project has no resolved way to finish its exposed edges.
- Main field tile
- Shower floor tile
- Edge treatment
- Niche or feature material
- Grout
- Sealant
- Spare material
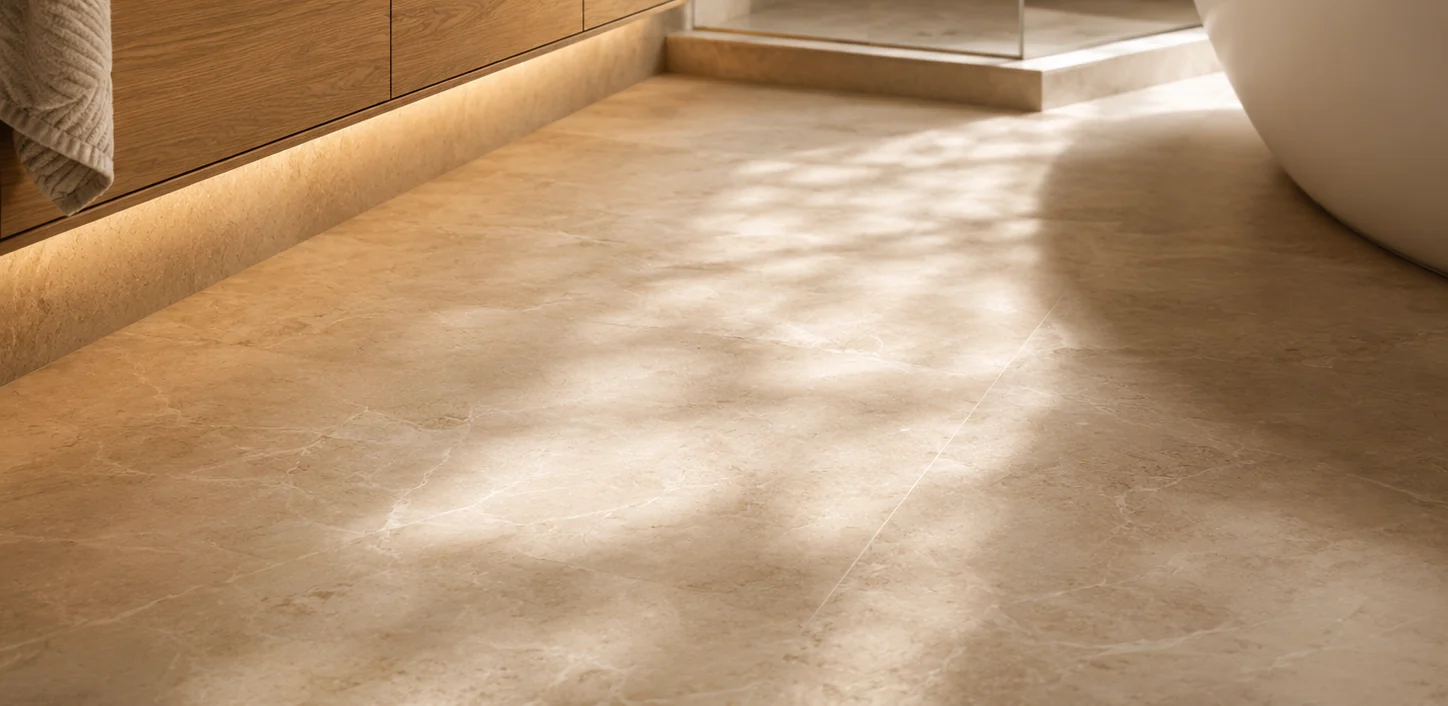
Large Format Is a Layout Decision Before It Is a Style Decision
Bigger tile reduces the number of grout joints, which can make a bathroom feel calmer and more monolithic. The tradeoff is that each cut and joint becomes more visually important. A narrow strip beside a doorway or a niche that lands randomly across a large slab-like piece is harder to ignore than it would be in a smaller repeated pattern.
Draw the tile module against the actual wall dimensions. This is particularly useful around niches, windows, benches and vanity backsplashes where a small adjustment to layout can avoid awkward cuts.
- Tile dimensions
- Orientation
- Starting point
- Niche size/location
- Fixture centre lines
- Edge profile
- Grout joint width
- Pattern/vein direction
The Substrate Has to Be Flat Enough for the Selected Material and Method
Large pieces bridge more wall or floor area, so variations in the substrate can telegraph into lippage or difficult setting. Preparation can include correcting wall planes or floor flatness before tile begins. The exact tolerances and installation requirements should follow the selected tile and setting-system specifications.
This work is not visible in the finished photograph, but it is part of what allows the final joints and reflections to look consistent. Premium material installed over poor preparation does not become a premium installation.
| Location | Large-format advantage | Planning challenge |
|---|---|---|
| Shower wall | Fewer joints and strong visual continuity. | Flatness, handling, niches, corners and penetrations. |
| Main bathroom floor | Calm surface and fewer grout lines. | Flatness, floor height and room-edge cuts. |
| Shower floor | Potentially dramatic continuous look in suitable systems. | Slope geometry and slip/surface suitability can limit options. |
| Feature wall | Veining/pattern can become architectural. | Layout and bookmatching/pattern continuity may require extra material. |
Large Tile Does Not Eliminate Grout Maintenance
Fewer joints can reduce the total amount of grout, but the bathroom still has transitions, corners and sealant joints that need appropriate maintenance. Surface finish matters too: highly textured tile can be harder to wipe even if the grout grid is minimal. Choose the material for how the household cleans as well as how it photographs.
If a stone-look porcelain is selected for low maintenance, review several pieces so the printed variation looks convincing across the whole room rather than repetitive.
Coordinate Large Tile With Shower and Glass Details
Glass clamps, channels, valves and shower heads puncture or meet the tile surface. Their positions should respect the planned joints where practical. See frameless glass planning and the tile and stone service page for related decisions.
Include benches, curb faces, niches and outside corners in the same layout review. A consistent edge strategy and deliberate joint alignment make large-format installations feel quieter and prevent accessory locations from looking like they were added after the tile plan was finished.
Use the Tile Size to Simplify the Room, Not to Create Awkward Slivers
Large-format tile can reduce the number of grout joints and make a bathroom feel calmer, but the tile module still has to fit the actual walls. A very large format that creates narrow cuts at both ends of a shower can look less resolved than a slightly smaller module with balanced pieces. The best size is the one that works with the room geometry and substrate, not simply the largest product available.
Before installation, review the most visible walls and decide where the pattern should start. Niches, benches, outside corners and vanity backsplashes are common places where a deliberate layout matters. If the tile has strong directional veining, also agree on orientation and how adjacent pieces should relate.
Frequently Asked Questions
Can large-format tile be used on shower walls?
Yes, when the tile is suitable and the substrate, waterproofing, setting materials and installation method support it.
Can the same large tile go on the shower floor?
Sometimes, but shower slope may require cuts or a different drain strategy. Smaller tile is often easier on multi-directional slopes.
Does large tile make a small bathroom look bigger?
It can create a quieter visual field, but room perception also depends on layout, colour, lighting and where grout lines land.
Are large tiles harder to install?
They require appropriate handling, surface preparation and mortar coverage. Difficulty depends on size, material, room geometry and installer experience.