
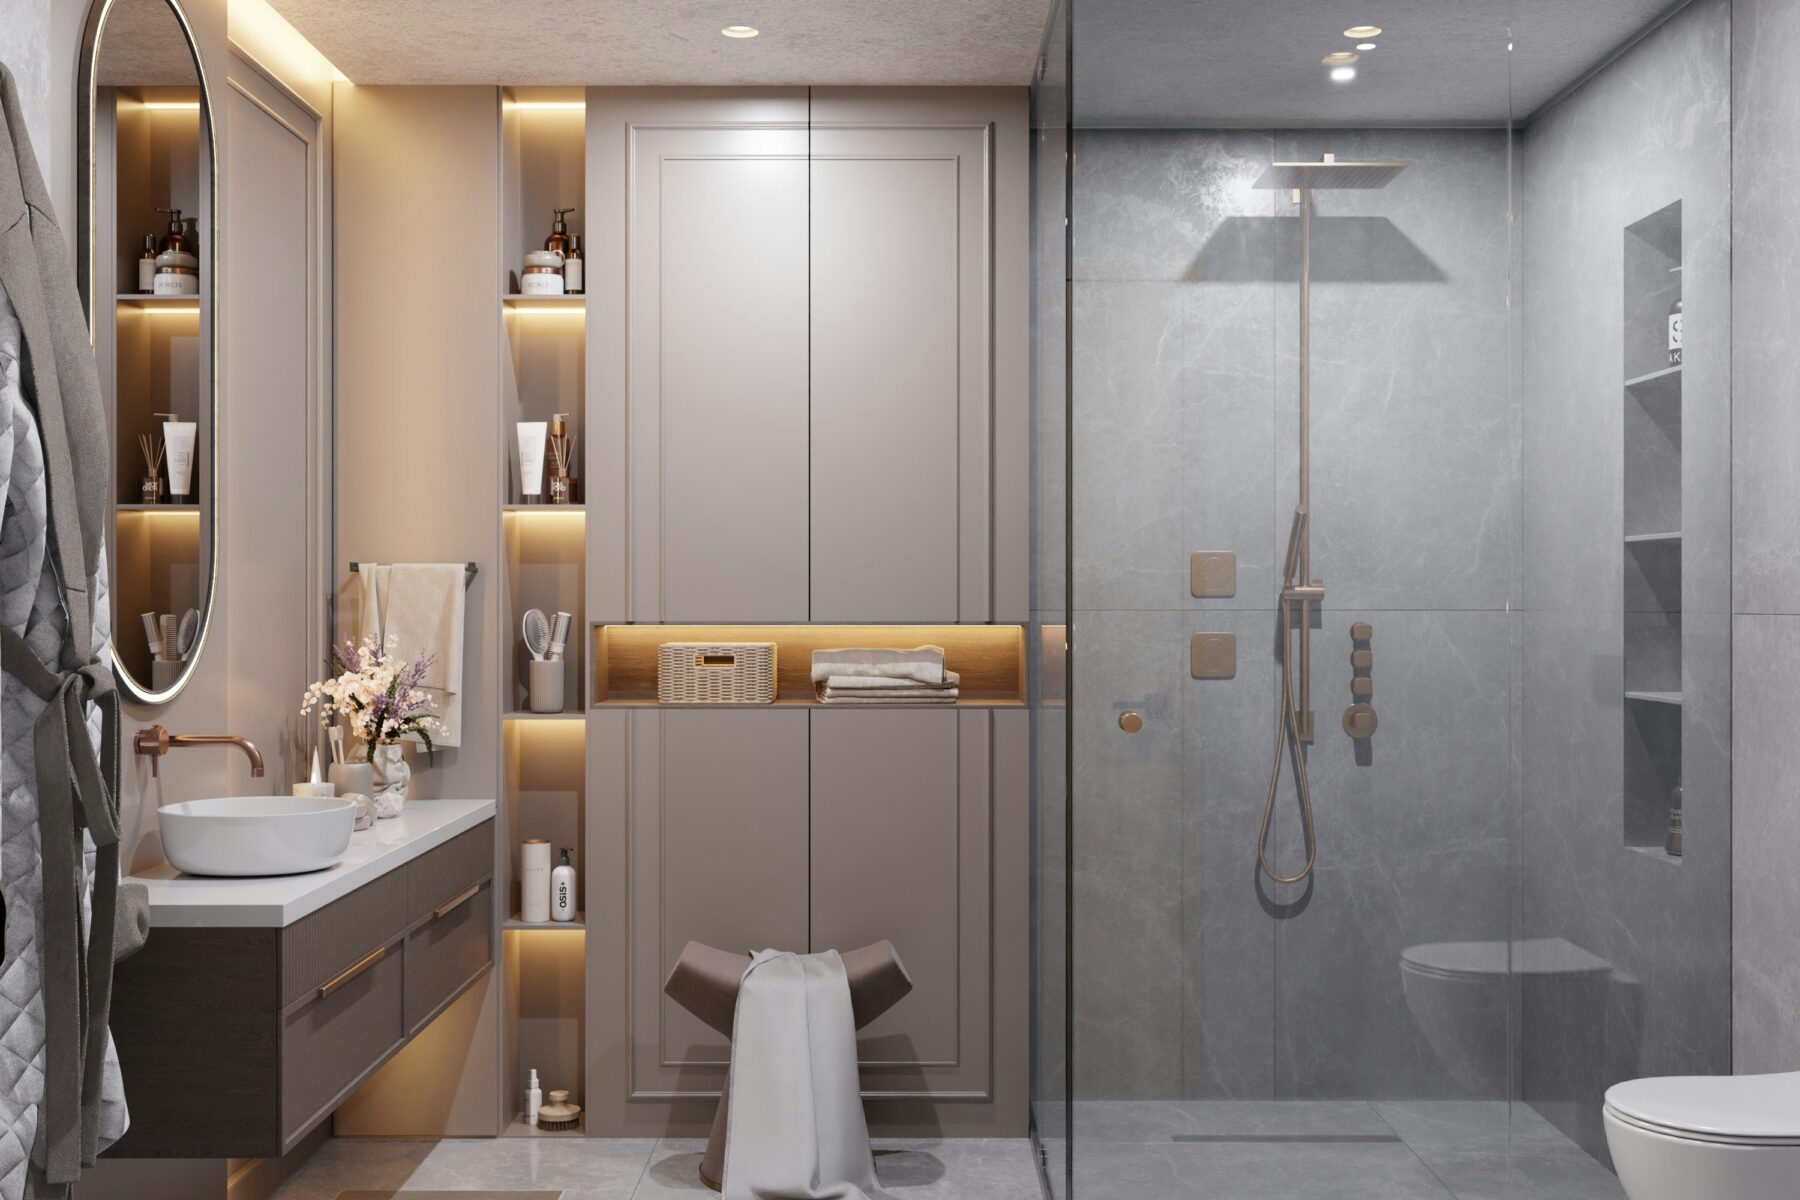
Design the Shower as One Complete Assembly
A custom shower is not only tile and glass. Its dimensions influence drainage. Drainage influences slope. Fixture locations influence plumbing and where glass can be installed. Niches, benches and thresholds affect waterproofing. Every visible decision connects to work underneath.
Planning those relationships early is what allows a shower to look simple when it is finished.
The shower should also be tested against the rest of the bathroom. Door swing, towel reach, vanity clearance and the route into the enclosure can determine whether the largest possible shower is actually the most comfortable layout.
Walk-In Showers
Increase shower size and simplify entries when the bathroom layout provides enough room.
Curbless Entries
Coordinate floor elevations, slope and drainage early because a barrier-free transition cannot be treated as a last-minute tile detail.
Frameless Glass
Plan glass lines, door swing, support and hardware around the tiled opening before the shower is complete.
Niches & Benches
Integrate storage and seating into the waterproofed assembly with dimensions that work for both tile layout and daily use.
Planning the Shower as a Complete Assembly
Shower Size Should Match the Room
Bigger is not automatically better. An oversized shower can make the rest of the bathroom feel compressed and may require more glass, tile and heating comfort to feel inviting. The right dimensions leave enough standing room while preserving circulation and vanity function.
The position of the shower controls also matters. If practical, controls can be located so water can be started without standing directly under the shower head.
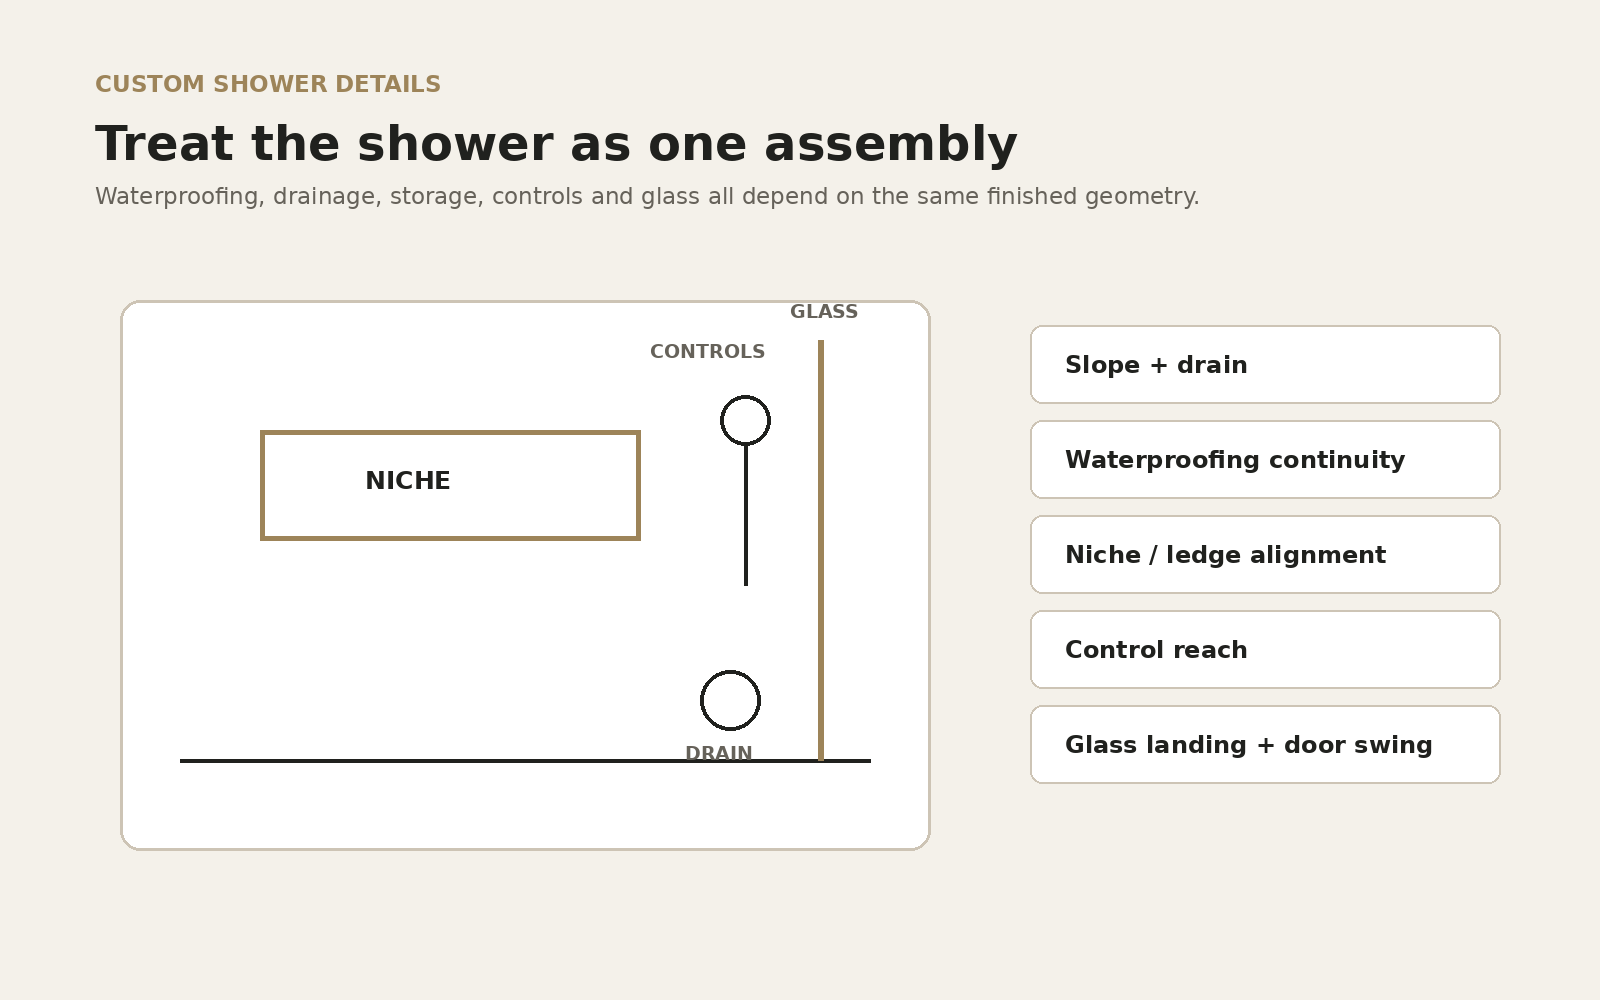
Drainage and Waterproofing Come Before Tile Pattern
A tiled shower must manage water at the surface and beneath it. The drain type, waterproofing system, slope, corners, penetrations and connection to the bathroom floor need to be coordinated before tile is installed.
Large-format tile can reduce grout lines on walls, but shower floors often need smaller pieces or carefully designed cuts to follow slope. A linear drain can change tile-layout options, but it should be selected for the actual shower geometry rather than purely for appearance.
- Centre or linear drain
- Curb, low curb or curbless entry
- Wall and floor waterproofing
- Fixture penetrations
- Niche and bench waterproofing
- Glass attachment locations
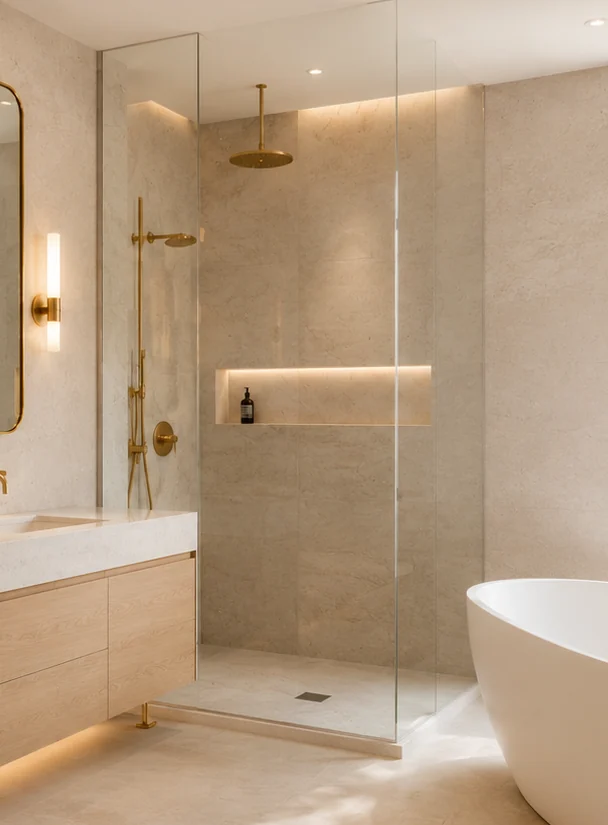
Fixture Placement Changes the Experience
Rain heads, wall-mounted heads and handheld fixtures all behave differently. The right combination depends on who uses the shower, ceiling height, pressure considerations and how much visual hardware the homeowner wants.
A handheld fixture is particularly practical for cleaning, seated use and rinsing. It can be included without making the shower look clinical when the rail or outlet is planned with the rest of the fixture layout.
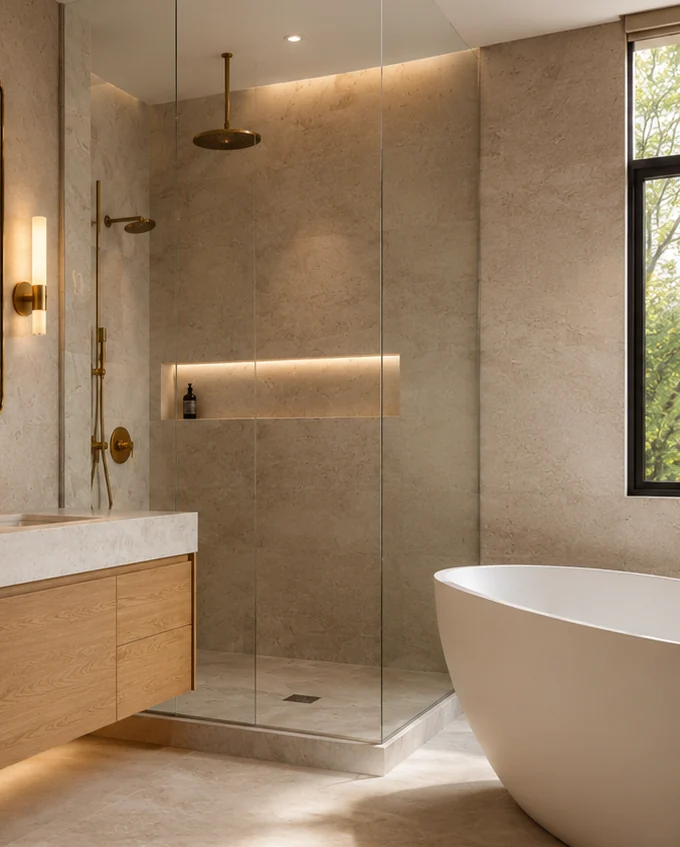
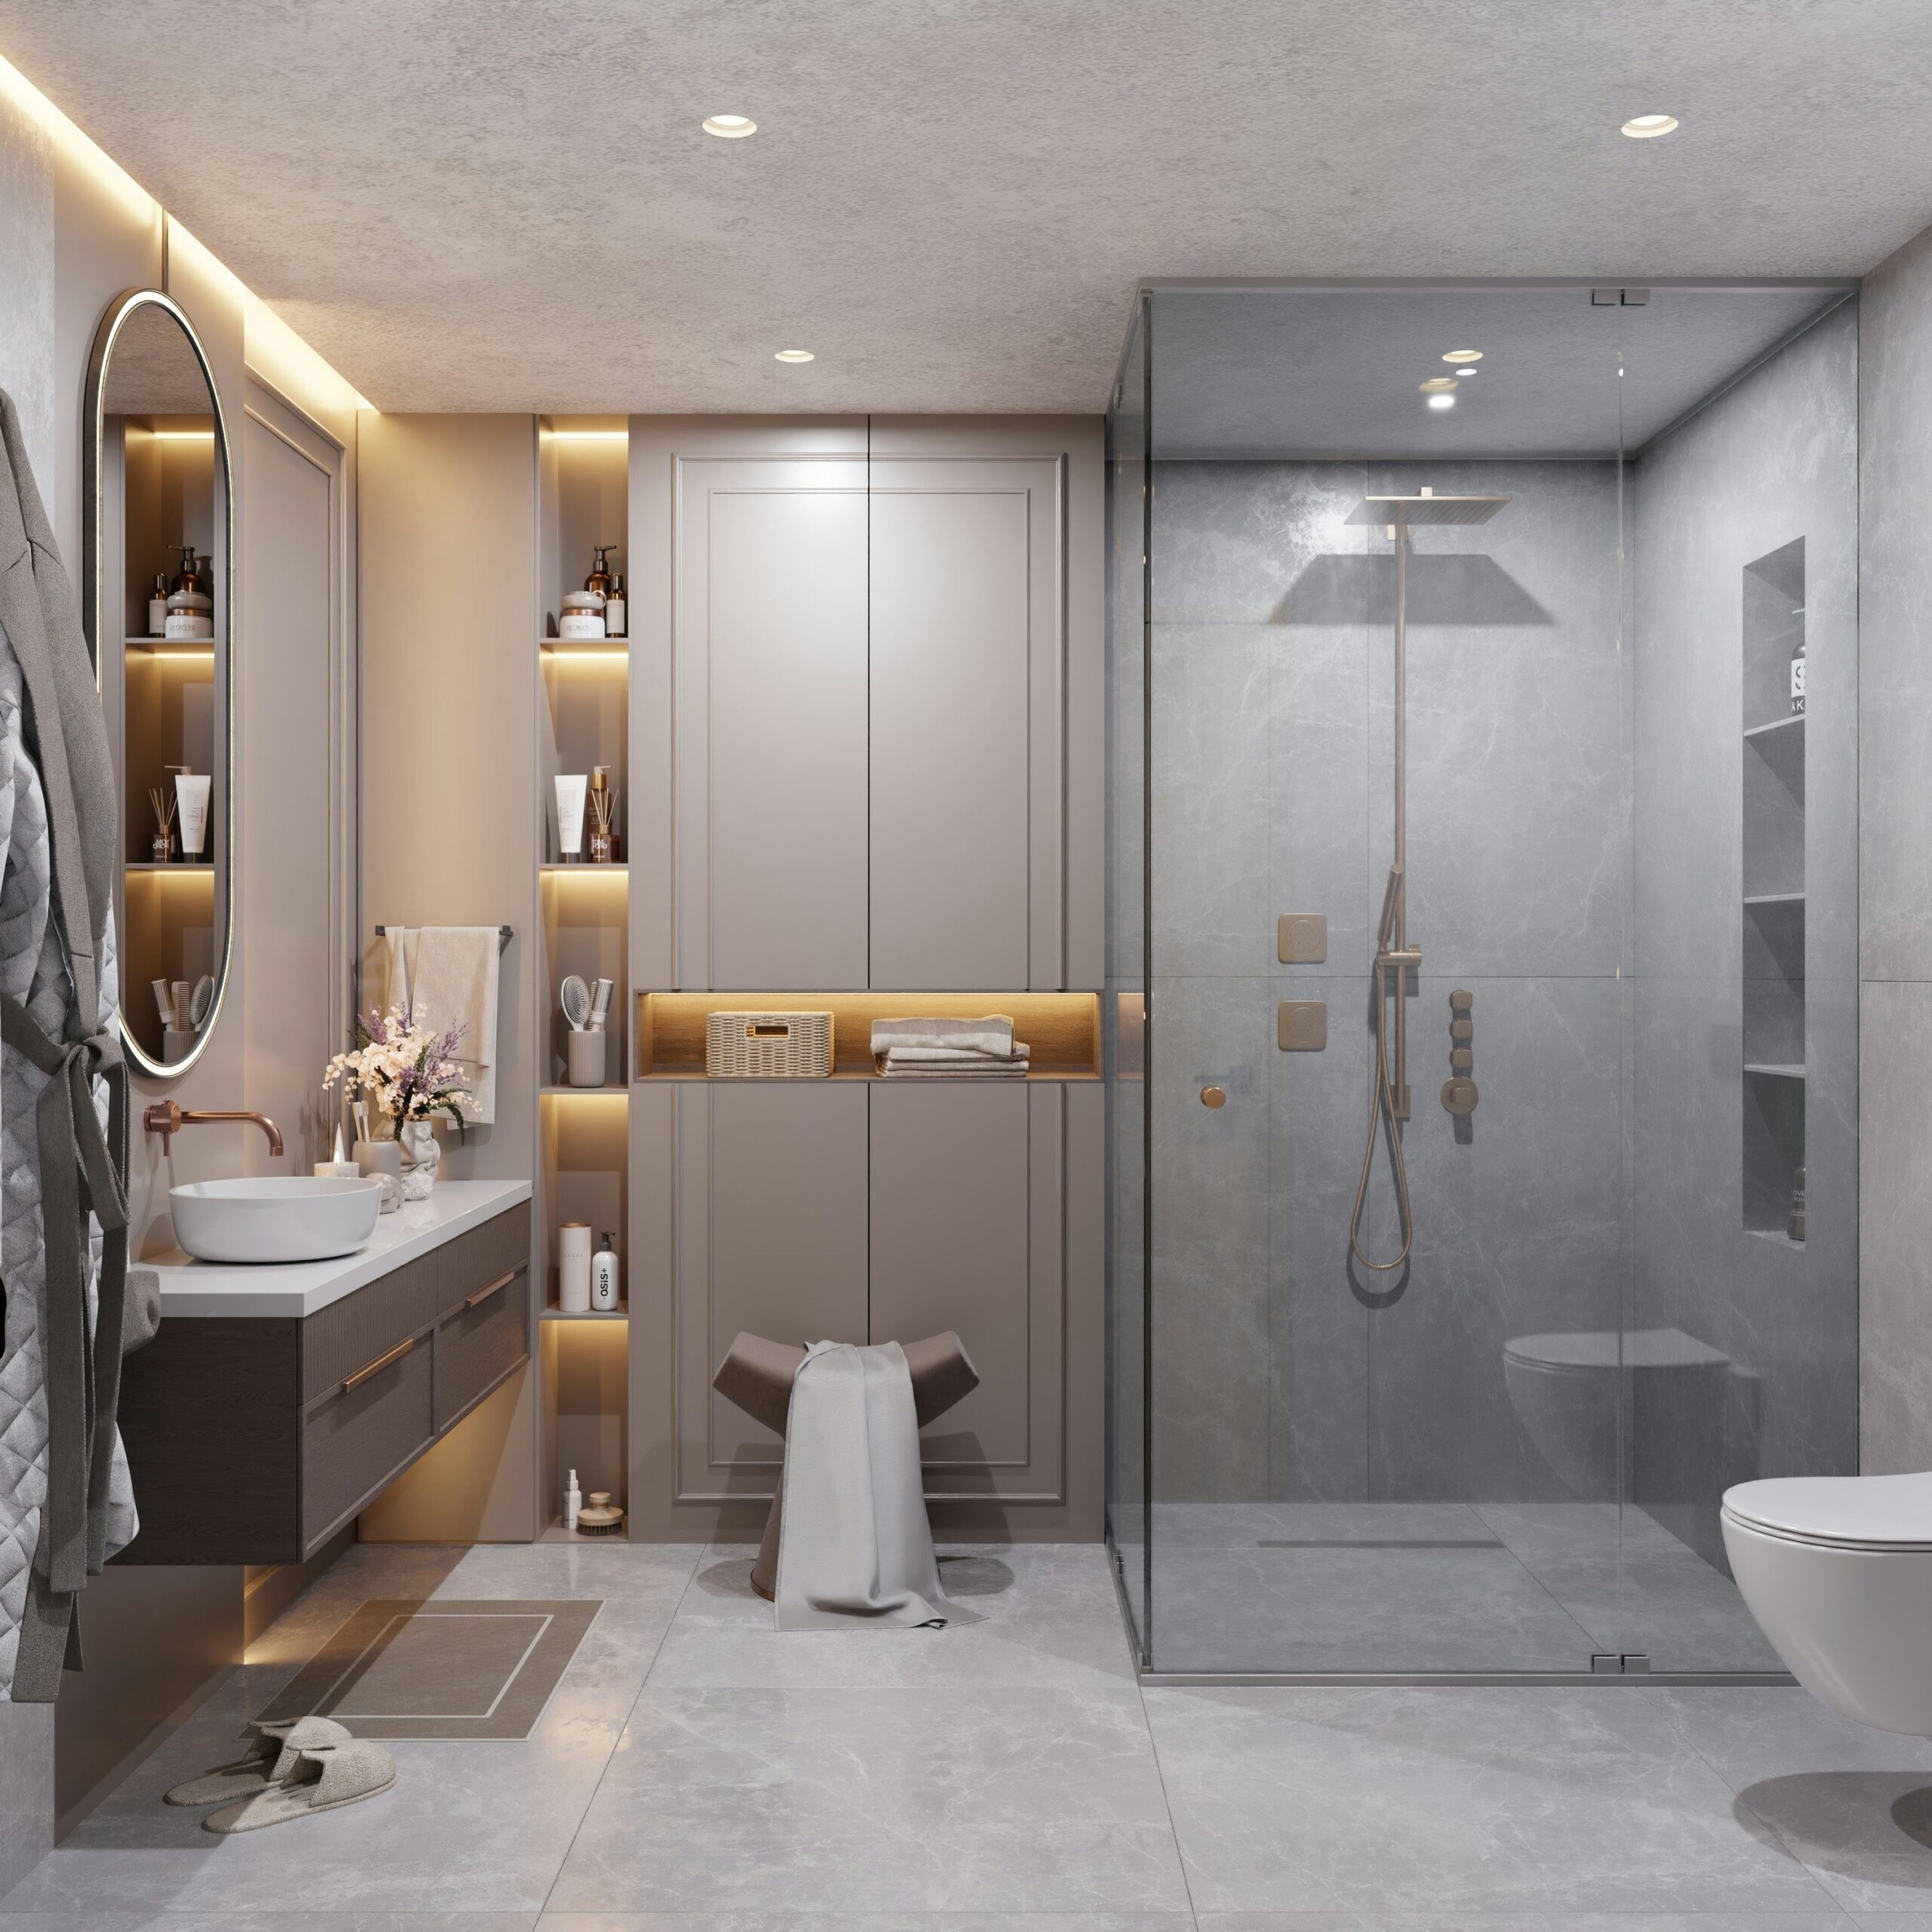
Decisions That Shape the Finished Result
The Shower Footprint Controls More Than Its Interior Size
Increasing a shower by even a modest amount can change where the glass lands, how the door swings, whether a vanity drawer clears, how the floor transition is built and where the drain can be located. That is why the shower footprint should be drawn as part of the whole bathroom plan rather than enlarged in isolation.
Consider how the user enters, turns, reaches the controls and exits with a towel. A deeper shower may contain water better with a fixed glass panel, while a wide but shallow shower may still send spray toward the opening. The number on a floor plan is only the starting point; the fixture direction and glass design influence how the space performs.
- Finished interior dimensions
- Entry width
- Door swing or open panel
- Control reach
- Shower-head direction
- Bench depth
- Niche location
- Towel location outside the glass
Curbless, Low-Curb and Traditional Entries Have Different Tradeoffs
A curbless entry can create a clean visual line and easier step-free access, but it requires the floor elevations, slope, drainage and waterproofing to work together. In an existing home, the structure may determine how easily the shower can be recessed or how much surrounding floor build-up is required. A low curb can sometimes deliver much of the visual openness with a simpler transition.
There is no universal premium answer. The right detail is the one that manages water, fits the existing structure and supports the intended use. That decision should be made before demolition and tile selection are treated as final.
| Entry type | Main advantage | Planning focus |
|---|---|---|
| Curbless | Continuous floor line and easier step-free access. | Structure, slope, drain position and water containment. |
| Low curb | Reduced threshold while preserving a defined shower boundary. | Curb height, glass, waterproofing and adjacent floor transition. |
| Traditional curb | Clear water boundary and familiar construction approach. | Curb proportions, waterproofing and door/track detail. |
Plan Niches, Benches and Controls as One Elevation
Niches are most useful when their size relates to the products they hold and their position avoids awkward tile cuts or plumbing conflicts. Benches should have a clear purpose: seated showering, shaving, storage or simply a place to rest. Controls should be reachable without forcing the user to stand directly under cold water while the shower warms up.
Draw these elements on the shower wall with the tile module before installation. A few centimetres of adjustment can align a niche with grout joints or move a valve away from a glass hinge. Premium shower detailing often comes from resolving these relationships early rather than adding more features.
- Bottle height and niche shelves
- Bench function and depth
- Valve and diverter position
- Handheld rail or outlet
- Glass hardware locations
- Tile module and grout lines
- Lighting where applicable
Coordinate the Shower Controls With How the Door Actually Opens
One of the most useful custom-shower details is being able to start the water without standing directly under the first cold spray. Door position, fixed-glass width and valve location should therefore be considered together. A control placed only because it is easiest for the plumber may be awkward once the glass is installed.
The same coordination applies to towel reach, bench location and handheld fixtures. Draw the shower entry and the door in its open position, then test the sequence of entering, turning on water, reaching a towel and cleaning the enclosure. Small planning decisions can make a large shower feel noticeably better every day.
- Door swing or sliding path
- Control reach from the entry
- Handheld location
- Towel reach
- Bench relationship
- Fixed-glass splash control
Planning a larger or more customized shower?
Tell us about the existing enclosure, the size you want and whether you are considering curbless entry, niches, a bench, multiple fixtures or frameless glass.
Frequently Asked Questions
What is the difference between a walk-in and curbless shower?
A walk-in shower describes an open or easily entered shower configuration. A curbless shower specifically removes the raised threshold, which requires careful floor-height, waterproofing and drainage planning.
When should shower glass be planned?
The glass concept should be considered during layout planning, while final measurement normally occurs after the tiled opening is complete.
Can a shower niche be any size?
Its dimensions should account for framing, waterproofing, product storage and the tile module so the finished edges can be resolved cleanly.
Is a linear drain required for a curbless shower?
No. The appropriate drain depends on the shower geometry and floor design. Both point drains and linear drains can be used in properly designed assemblies.