
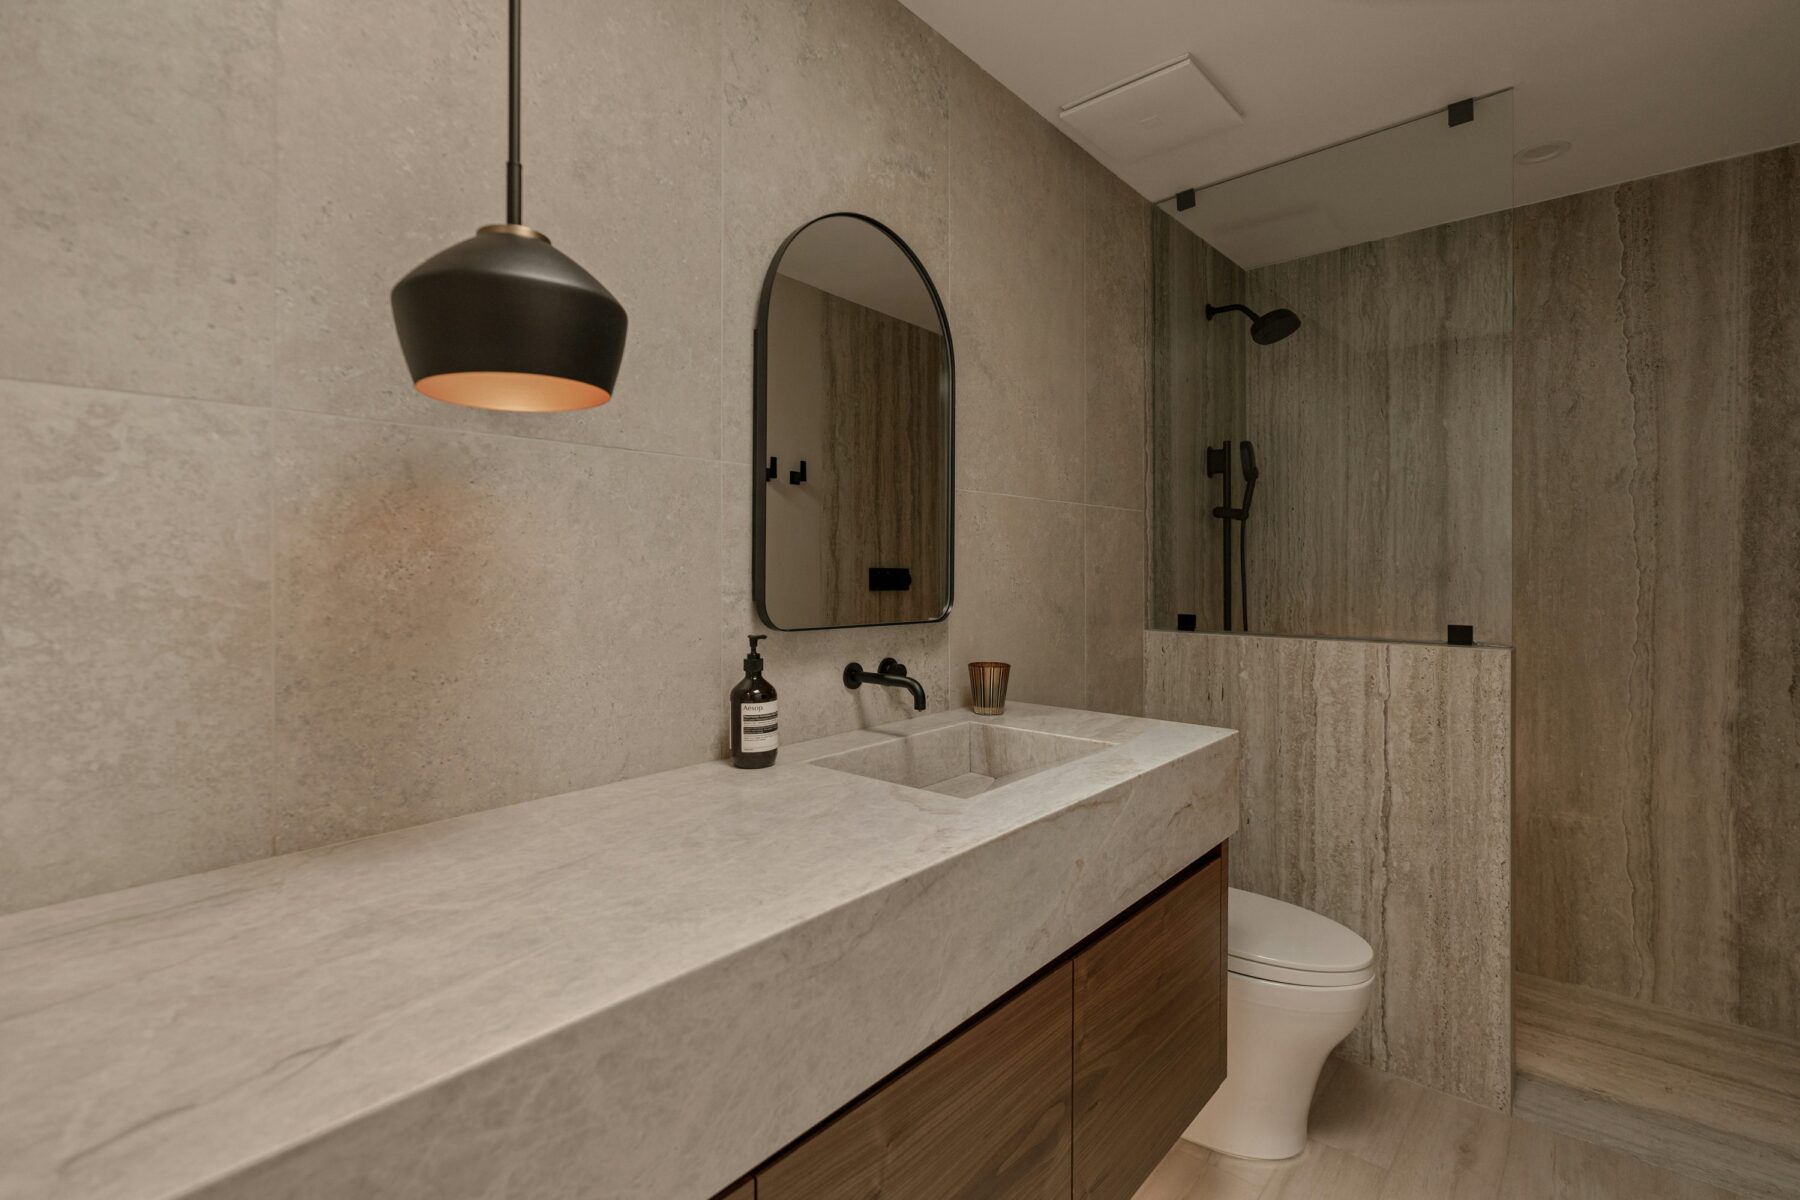
Material Choice Is Only Half the Tile Decision
Tile affects scale, maintenance, slip resistance, floor height, shower slope and the way every edge is finished. The same material can look completely different depending on where cuts land, how grout is selected and how corners, niches and transitions are resolved.
For a premium bathroom, tile planning should happen together with the room dimensions and fixture locations rather than after the walls are already prepared.
Review the most visible walls, niche locations, outside corners and floor transitions before setting begins. Those details determine where cuts land and whether the selected material can maintain the calm, intentional appearance expected from a high-end renovation.
Large-Format Porcelain
Fewer grout lines can create a calmer surface, but wall flatness, handling, cuts and shower slope still need to be considered.
Natural Stone
Variation, sealing requirements and maintenance should be understood before choosing stone for a wet environment.
Shower Floors
Smaller mosaics or carefully planned large pieces may be required to follow drainage slope safely and cleanly.
Transitions & Edges
Profiles, mitres, slabs and trim pieces should be selected deliberately so exposed tile edges do not become an afterthought.
Planning Tile, Stone and the Surfaces Beneath Them
Choose Tile for the Actual Surface
A tile that works beautifully on a dry bathroom wall may not be appropriate for a shower floor. Surface texture, size, water exposure and maintenance all matter. Product specifications should be checked for the proposed application.
The most successful rooms often use fewer materials more consistently instead of introducing a new tile on every surface.
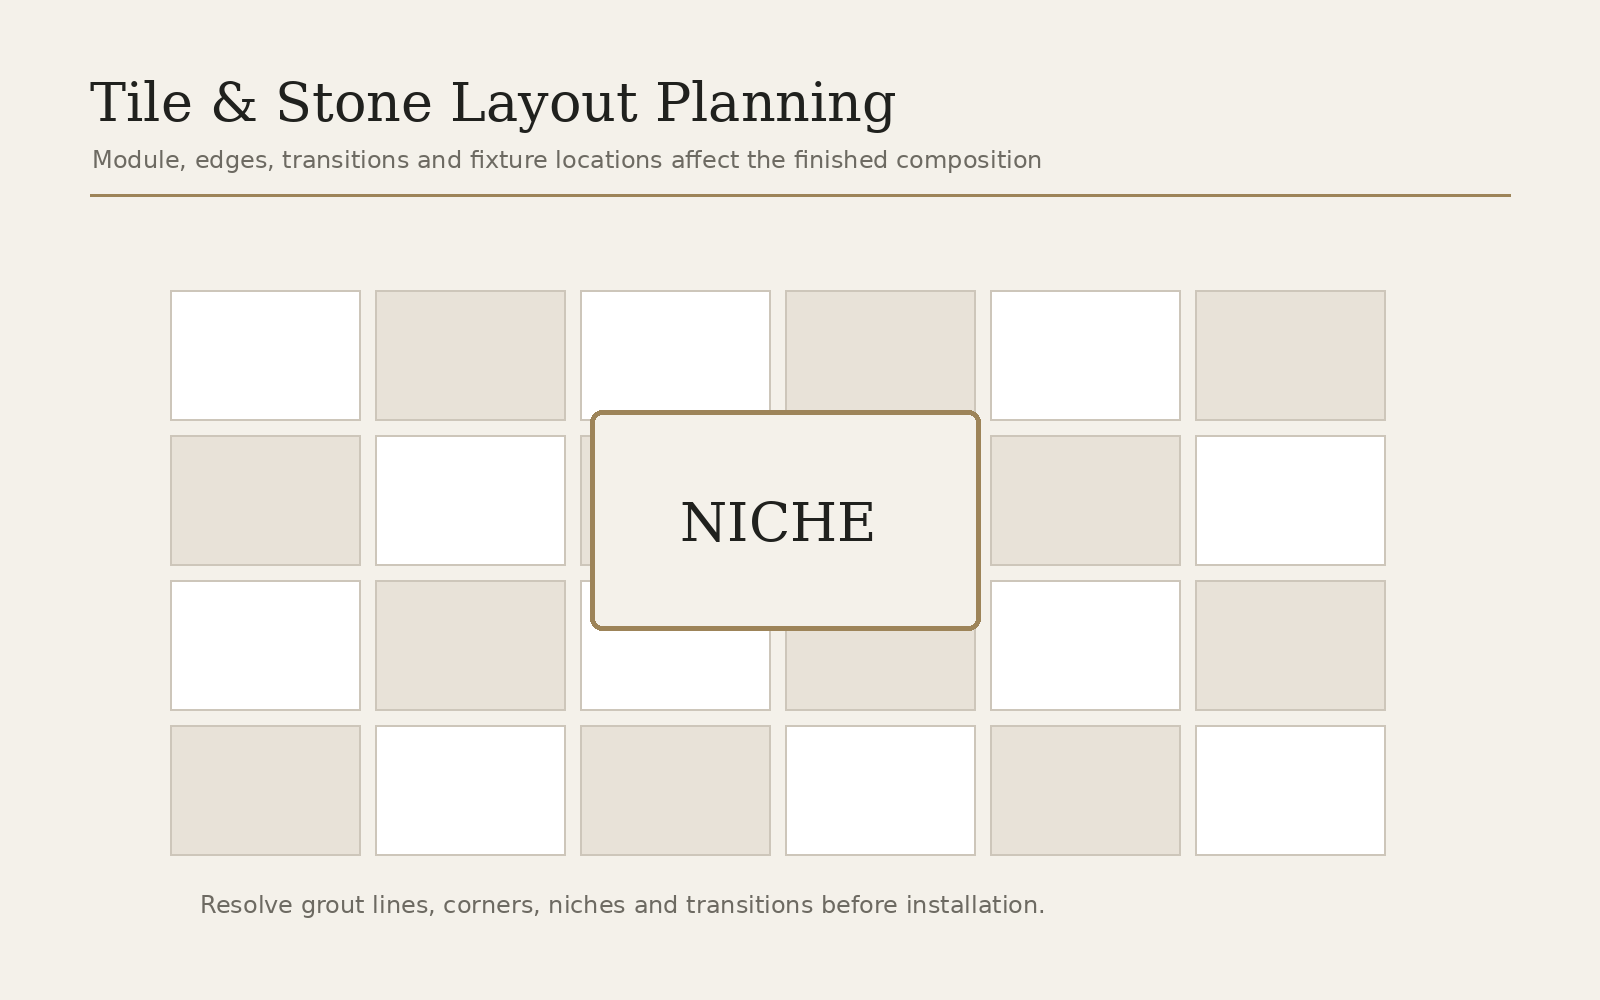
Layout Can Make Expensive Tile Look Better—or Worse
Before installation, establish important visual lines. Where will full pieces begin? How will the shower niche align? What happens at the vanity backsplash? Are left and right cuts balanced? Does a horizontal grout line land through a plumbing fixture?
These details become particularly noticeable with rectified and large-format tile because the material creates strong uninterrupted lines.
- Shower wall starting point
- Niche position and size
- Bench edges
- Window returns
- Vanity backsplash height
- Door thresholds
- Floor transitions to adjacent rooms
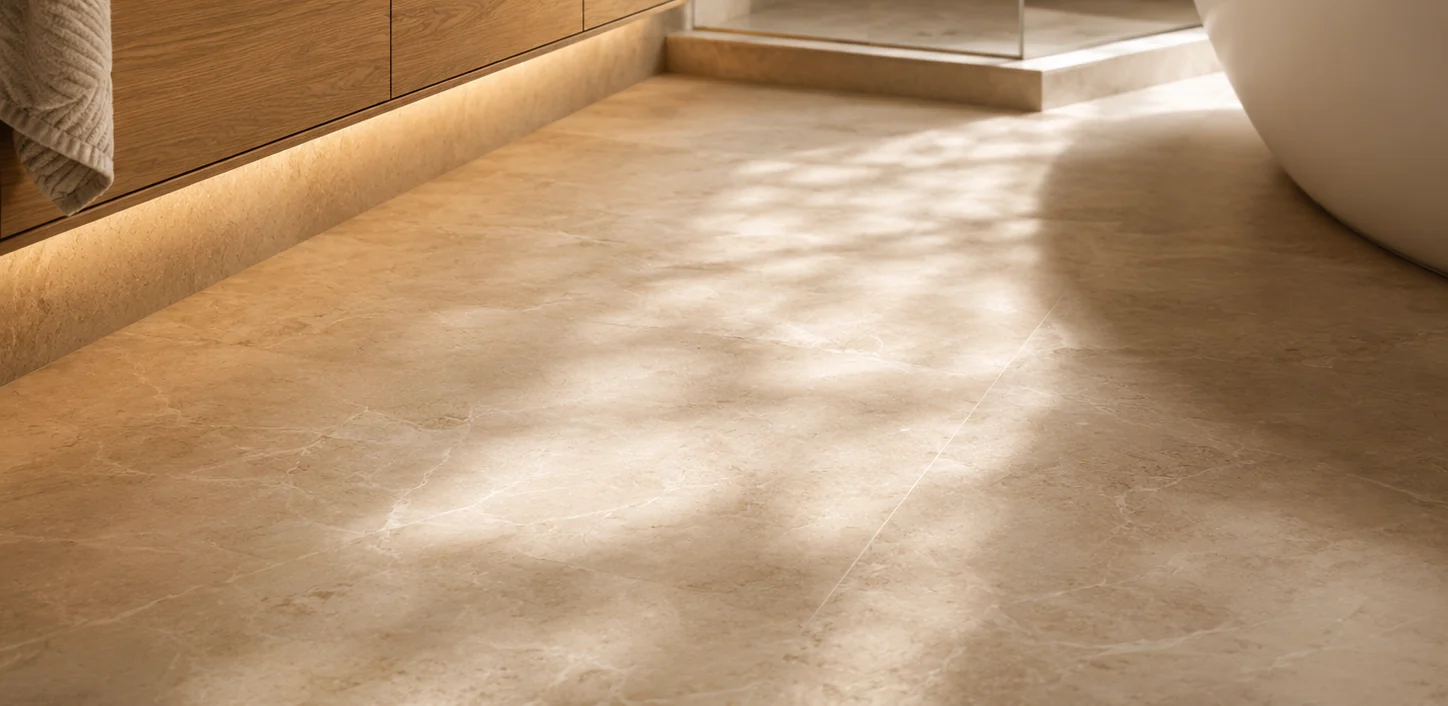
The Substrate Has to Support the Finish
Large tile does not hide an uneven wall or floor. Flatness, rigidity, waterproofing and compatible setting materials are part of the installation system. Natural stone may introduce additional substrate, sealing and movement considerations.
A high-end finish begins with appropriate preparation, even though the preparation disappears once the room is complete.
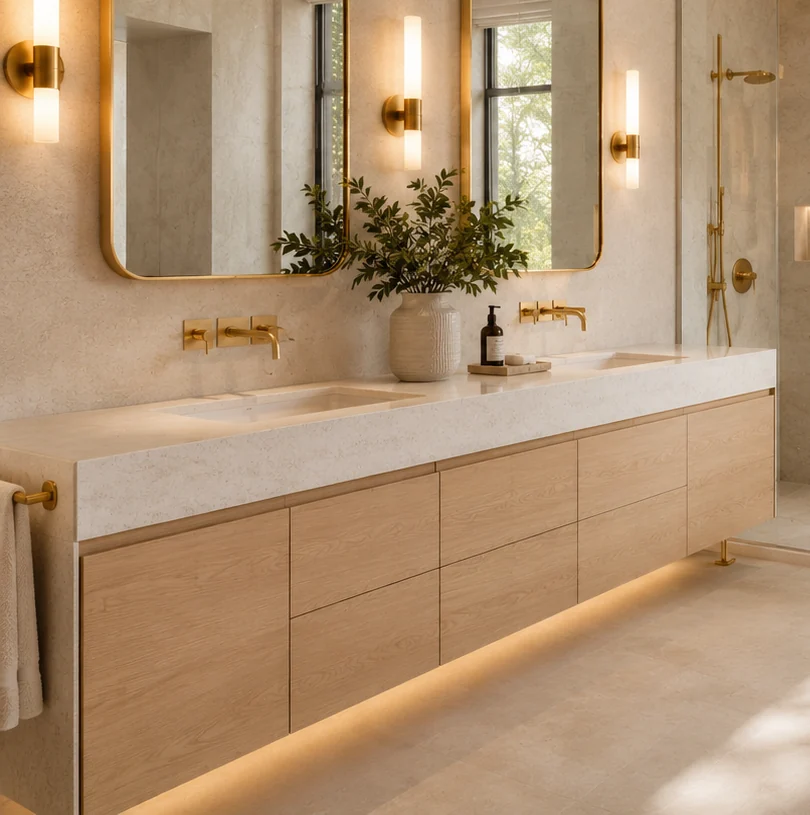
Decisions That Shape the Finished Result
Select the Installation Detail With the Material
Tile selection is incomplete until the exposed edges, corners, niches, thresholds and transitions have a finishing method. Some rooms use metal profiles, others use factory-finished pieces, mitred corners or stone/slab components. Each option creates a different visual line and may affect ordering quantities or installer preparation.
This is especially important with large-format porcelain and strongly veined surfaces. A tile that looks seamless in a showroom can require careful planning at a niche return, bench, window or outside corner. Ask to see how the material ends, not only how the middle of the wall looks.
- Outside corners
- Niche edges
- Bench face and top
- Shower curb or entry
- Door threshold
- Vanity backsplash
- Window returns
- Floor-to-wall transitions
Large-Format Tile Changes the Preparation Standard
Large pieces create fewer grout joints and a calm visual field, but they do not make an uneven wall disappear. The substrate must be appropriate for the selected material and installation method. Flatness becomes more noticeable because a single piece spans more surface, and handling/cutting large panels requires planning for access and equipment.
In showers, floor geometry still has to move water to the drain. That is why the same large tile used on walls or the main bathroom floor may not be the best choice for every shower floor. The drain type, tile dimensions and slope strategy should be considered together.
| Surface | Key priority | Common planning question |
|---|---|---|
| Shower walls | Flat substrate and resolved edges. | How will niches, corners and fixtures align with the tile module? |
| Shower floor | Drainage slope and suitable surface characteristics. | Can the selected size follow the planned slope cleanly? |
| Main bathroom floor | Flatness, movement accommodation and transitions. | How will the finished height meet the hallway or bedroom floor? |
| Natural stone | Variation, sealing and maintenance expectations. | Is the stone appropriate for the specific wet-area use? |
Use Samples to Make the Whole Palette, Not Individual Choices
Put the cabinet finish, counter, main tile, shower-floor material, grout and metal finish beside one another. View them vertically and horizontally because a material can read differently under light when it moves from floor to wall. If the tile has significant variation, review several pieces rather than one sample board.
Premium bathrooms often become stronger after one material is removed from the palette. Repetition creates continuity; texture, wood tone and lighting can add richness without requiring another patterned surface on every plane.
Mock Up High-Visibility Tile Relationships Before Installation
Large tiles and strong veining make individual cuts more noticeable, especially around niches, benches, vanity backsplashes and shower valves. Before setting begins, identify the wall or feature that should read most cleanly and determine where full tiles, balanced cuts and grout lines should land. A few minutes of layout discussion can prevent a distracting narrow strip beside an otherwise refined vanity or shower.
For natural stone or heavily varied porcelain, review several pieces together rather than approving from one sample. Variation, bookmatching potential and the distribution of darker or lighter pieces can materially change the finished room.
- Main sightline from the doorway
- Niche edges
- Bench faces
- Valve penetrations
- Vanity backsplash
- Outside shower corners
- Floor-to-wall transitions
Planning tile as part of a complete renovation?
Share the look you are considering along with the room and shower scope. Material size and layout are easier to evaluate when the actual surfaces are known.
Frequently Asked Questions
Is large-format tile suitable for bathroom floors?
It can be, depending on the tile rating, floor flatness and room geometry. Shower floors require special attention because the surface needs to slope to the drain.
Can marble be used in a shower?
Natural stone can be used in many bathroom applications, but homeowners should understand its variation, porosity, maintenance and compatibility with the selected installation system.
Should grout colour match the tile?
It depends on the desired effect. A close match reduces visual emphasis on joints, while contrasting grout makes the grid more prominent.
When should tile edge details be chosen?
Before installation. Exposed edges, niches, benches and transitions should have an agreed finishing method so the installer is not forced to improvise later.